

How to Verify Smart Contracts with Libraries and Constructor Parameters on Polygonscan.

Actively looking for Smart Contract Developer, DevRel and Technical Writer Role.
ex Smart Contract Developer @Lighthouse | Technical Writer | @QuickNode Ambassador | @chainlink Developer Expert & Community Advocate | Contributor @Developer_DAO, @LearnWeb3DAO and @eden
Built over 70 dapps and published 19 tutorials in web3
When you deploy code to the public, open, global censorship-resistant Ethereum blockchain, you expect participants will use the functions and services your smart contract provides worldwide. Therefore, it is essential to be a good steward of the blockchain community and help the users of your contract trust that the code will do what you claim it will do.

Why Verify?
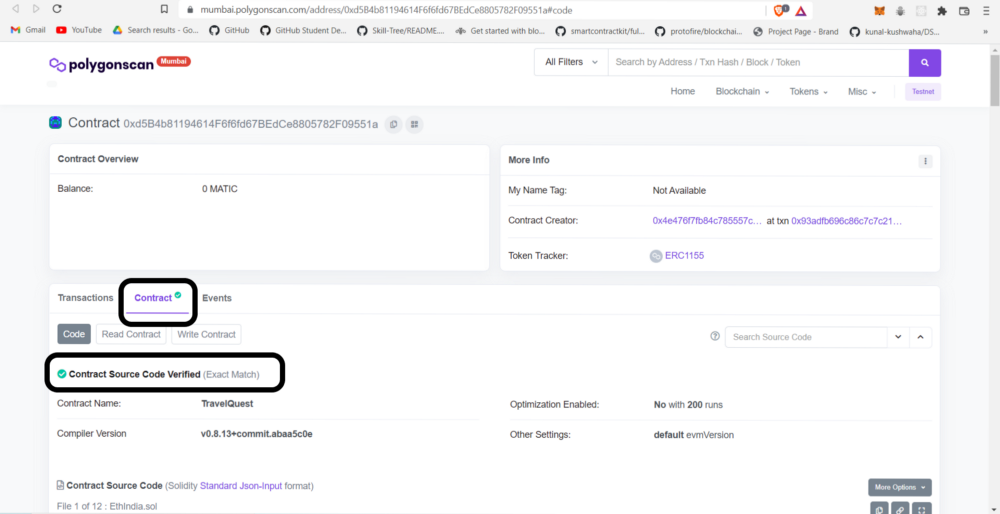
- Verifying contracts is crucial because it ensures that the code is exactly what you deployed onto the blockchain
- It also allows the public to read and audit your smart contract code
- Contracts that are verified are considered to be more trustworthy than the ones which are not
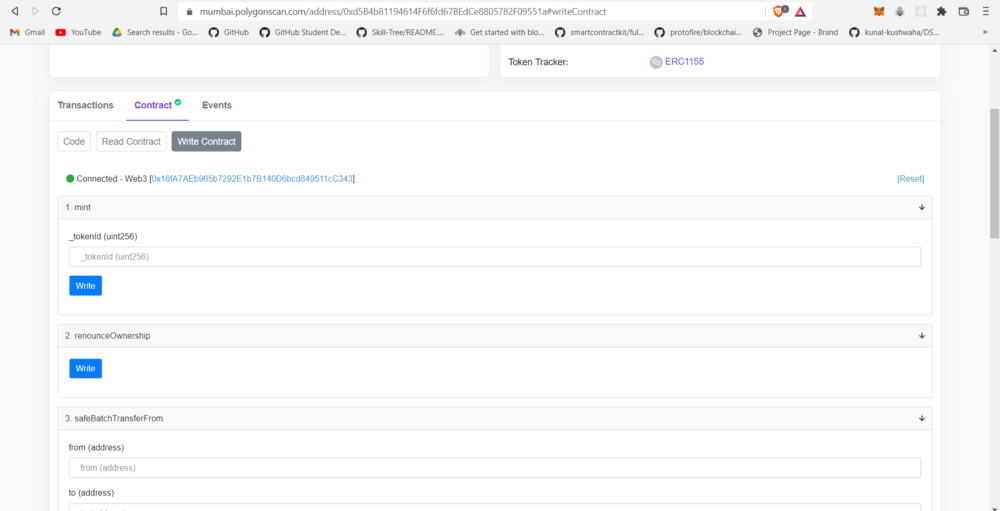
- It also gives you a UI interface to interact with the contracts
What We Will Build
This tutorial will explain the verification process of a smart contract already deployed on the Polygon Mumbai testnet.
We will also verify the contract to see if it has constructor parameters.
Let's now learn how we can leverage Hardhat for verifying smart contracts with only some lines of code.
Let's goooo 🚀🚀🚀
We need to install hardhat-etherscan npm package:
$ npm install --save-dev @nomiclabs/hardhat-etherscan
The hardhat-etherscan npm package belongs to Hardhat, which will help us with Etherscan verification.
We will also install the dotenv package to import the .env file and use it in our config. Open up a terminal and execute this command.
$ npm install dotenv
Now, create a .env file in the folder and add the following lines; use the instructions in the comments to get your ALCHEMY_API_KEY_URL, MUMBAI_PRIVATE_KEY and POLYGONSCAN_KEY. If you don't have Mumbai on MetaMask, you can follow this to add it to your MetaMask; make sure that you funded the account from which you get your Mumbai private key with Mumbai test Matic; you can get some from this faucet.
// Go to https://www.alchemyapi.io, sign up, create
// a new App in its dashboard and select the network as Mumbai,   and replace "add-the-alchemy-key-url-here" with its key url
  ALCHEMY_API_KEY_URL="add-the-alchemy-key-url-here"

  // Replace this private key with your Mumbai account private key
  // To export your private key from Metamask, open Metamask and
  // go to Account Details > Export Private Key
  // Be aware of NEVER putting real Ether into testing accounts
  MUMBAI_PRIVATE_KEY="add-the-mumbai-private-key-here"

  // Go to https://polygonscan.com/, sign up, on your account overview page,
  // click on `API Keys`, add a new API key and copy the
  // `API Key Token`
  POLYGONSCAN_KEY="add-the-polygonscan-api-token-here"
If you deployed your DApp using Hardhat, you already have MUMBAI_PRIVATE_KEY and ALCHEMY_API_KEY_URL. Then you need to add POLYGONSCAN_KEY in .env. Create a new file named verify.js under the scripts folder. Notice how we are using code to verify the contract.
const { ethers } = require("hardhat");
require("dotenv").config({ path: ".env" });
require("@nomiclabs/hardhat-etherscan");
async function main() {

// Verify the contract after deploying
await hre.run("verify:verify", {
address: "address-of-your-smart-contract",
constructorArguments: [],
});
}
// Call the main function and catch if there is any error
main()
.then(() => process.exit(0))
.catch((error) => {
console.error(error);
process.exit(1);
});
Now, if the contract's constructor has parameters, then you need to put the value of that parameter in constructorArguments.
const { ethers } = require("hardhat");
require("dotenv").config({ path: ".env" });
require("@nomiclabs/hardhat-etherscan");
async function main() {
// Verify the contract after deploying
await hre.run("verify:verify", {
address: "address-of-your-smart-contract",
constructorArguments: ["parameter1","parameter2"],
// for example, if your constructor argument took an address, do something like constructorArguments: ["0xABCDEF..."],
});
}
// Call the main function and catch if there is any error
main()
.then(() => process.exit(0))
.catch((error) => {
console.error(error);
process.exit(1);
});
To verify, open up a terminal and execute this command:
$ npx hardhat run scripts/verify.js --network mumbai
It should have printed a link to Mumbai Polygonscan; your contract is now verified. Click on the Polygonscan link and interact with your contract there 🚀🚀🚀
Reference
The LearnWeb3DAO tutorial on Hardhat Etherscan Verification was the inspiration for this tutorial.
You can follow me on Twitter, GitHub, and Linkedin.
Keep your suggestions and comments coming!


