

How to Build an NFT Viewer dApp using Ankr.js to fetch NFTs owned by the Wallet Address
A Step-By-Step Tutorial On Building An NFT Viewer Web App Using Ankr.js, Ankr's Advanced APIs, React, TypeScript, Next.js, Vercel, and TailwindCSS.
What Are We Building
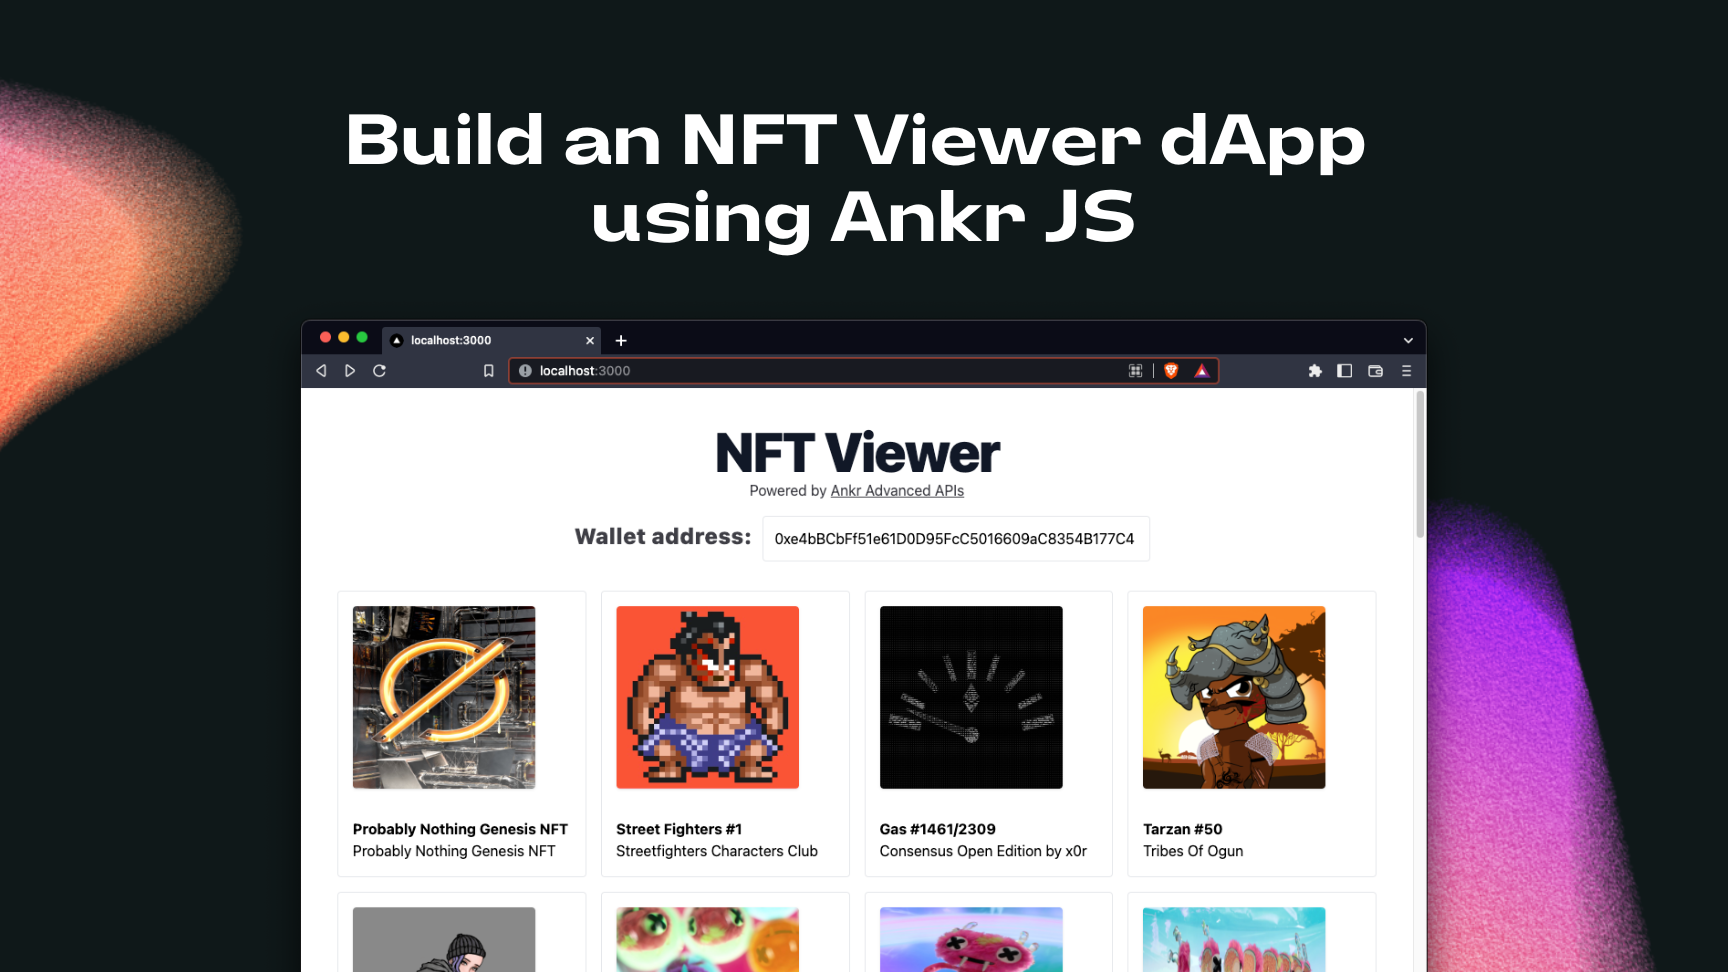
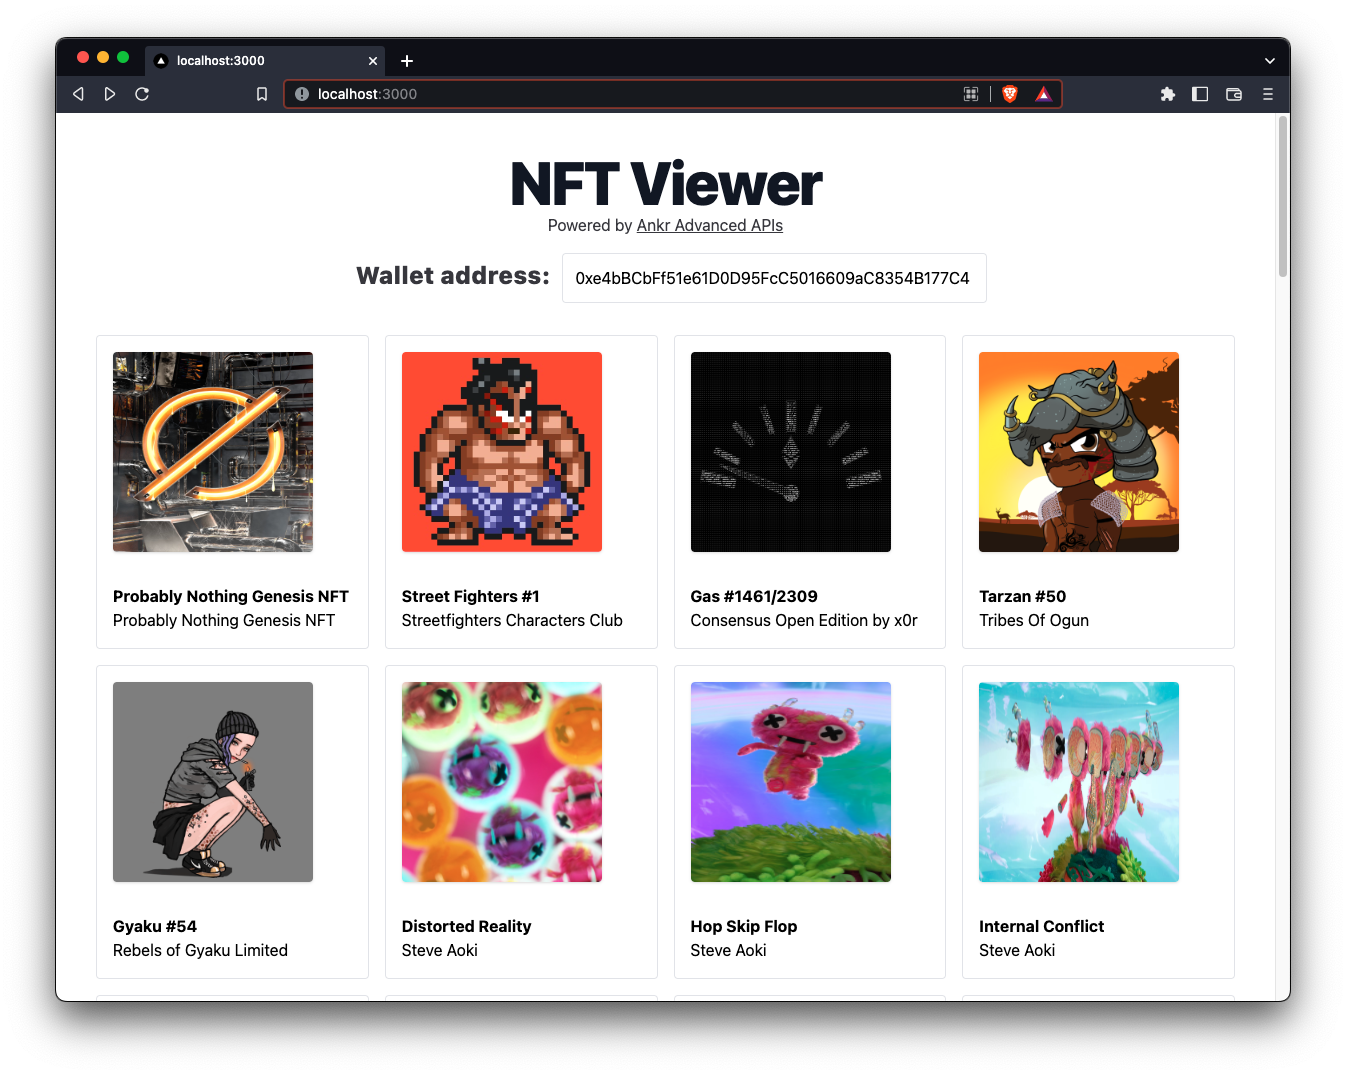
In this tutorial, we will be building an NFT viewer using Ankr.js, React, TypeScript, Next.js, Vercel, and TailwindCSS. The React web app will provide a user interface that displays a grid view of all the NFTs held by any given wallet address input. NFT data fetched using Ankr.js.
Ankr.js is a JavaScript library that lets us interact with Ankr's Advanced API's to fetch data from the eight supported EVM-compatible blockchains:
- Ethereum
- Fantom
- Binance
- Polygon
- Syscoin
- Arbitrum
- Avalanche
- Optimism
and more EVM and non-EVM chains coming soon.
By the end of this tutorial, you will be able to:
- Install, set up, and initialize the Ankr.js library.
- Create a new Next.js project and learn how to use the Ankr.js library to interact with Ankr's Advanced APIs for data retrieval.
- Fetch and store NFT data retrieved for a wallet address into a state variable and display the results to the user interface.

The Functionalities
- Users will be able to input a wallet address into the "Wallet address" field.
- The app will interact with the provider API endpoints and fetch the NFT data using Ankr.js.
- The app returns a gallery grid view of all the NFTs held by the wallet address to the user interface.
The Tech Stack
- CSS Framework: Tailwind
- RPC Provider: Ankr Protocol
- JavaScript Libraries: Ankr.js, React
- Frontend/Framework: TypeScript, Next.js
Getting Started
The Prerequisites:
- Have Git, Yarn, TailwindCSS, and Node.js installed on your machine.
- Basic understanding of JavaScript, React, and TailwindCSS.
Step 1: Create Next.js Project
Open up a terminal on your machine and navigate to the preferred directory location where you want to store your Next.js project and run the following command:
yarn create next-app --ts ankrjs-tutorial
This command creates a new Next.js starter project called ankrjs-tutorial. Now, let's navigate into the ankrjs-tutorial project directory and launch the local development server by running the following command:
cd ankrjs-tutorial && yarn dev
The above command changes your active directory to ankrjs-tutorial and sets up your local development environment. Copy and paste http://localhost:3000 into your web browser to launch the Next.js starter project. Here's what your web browser should look like:
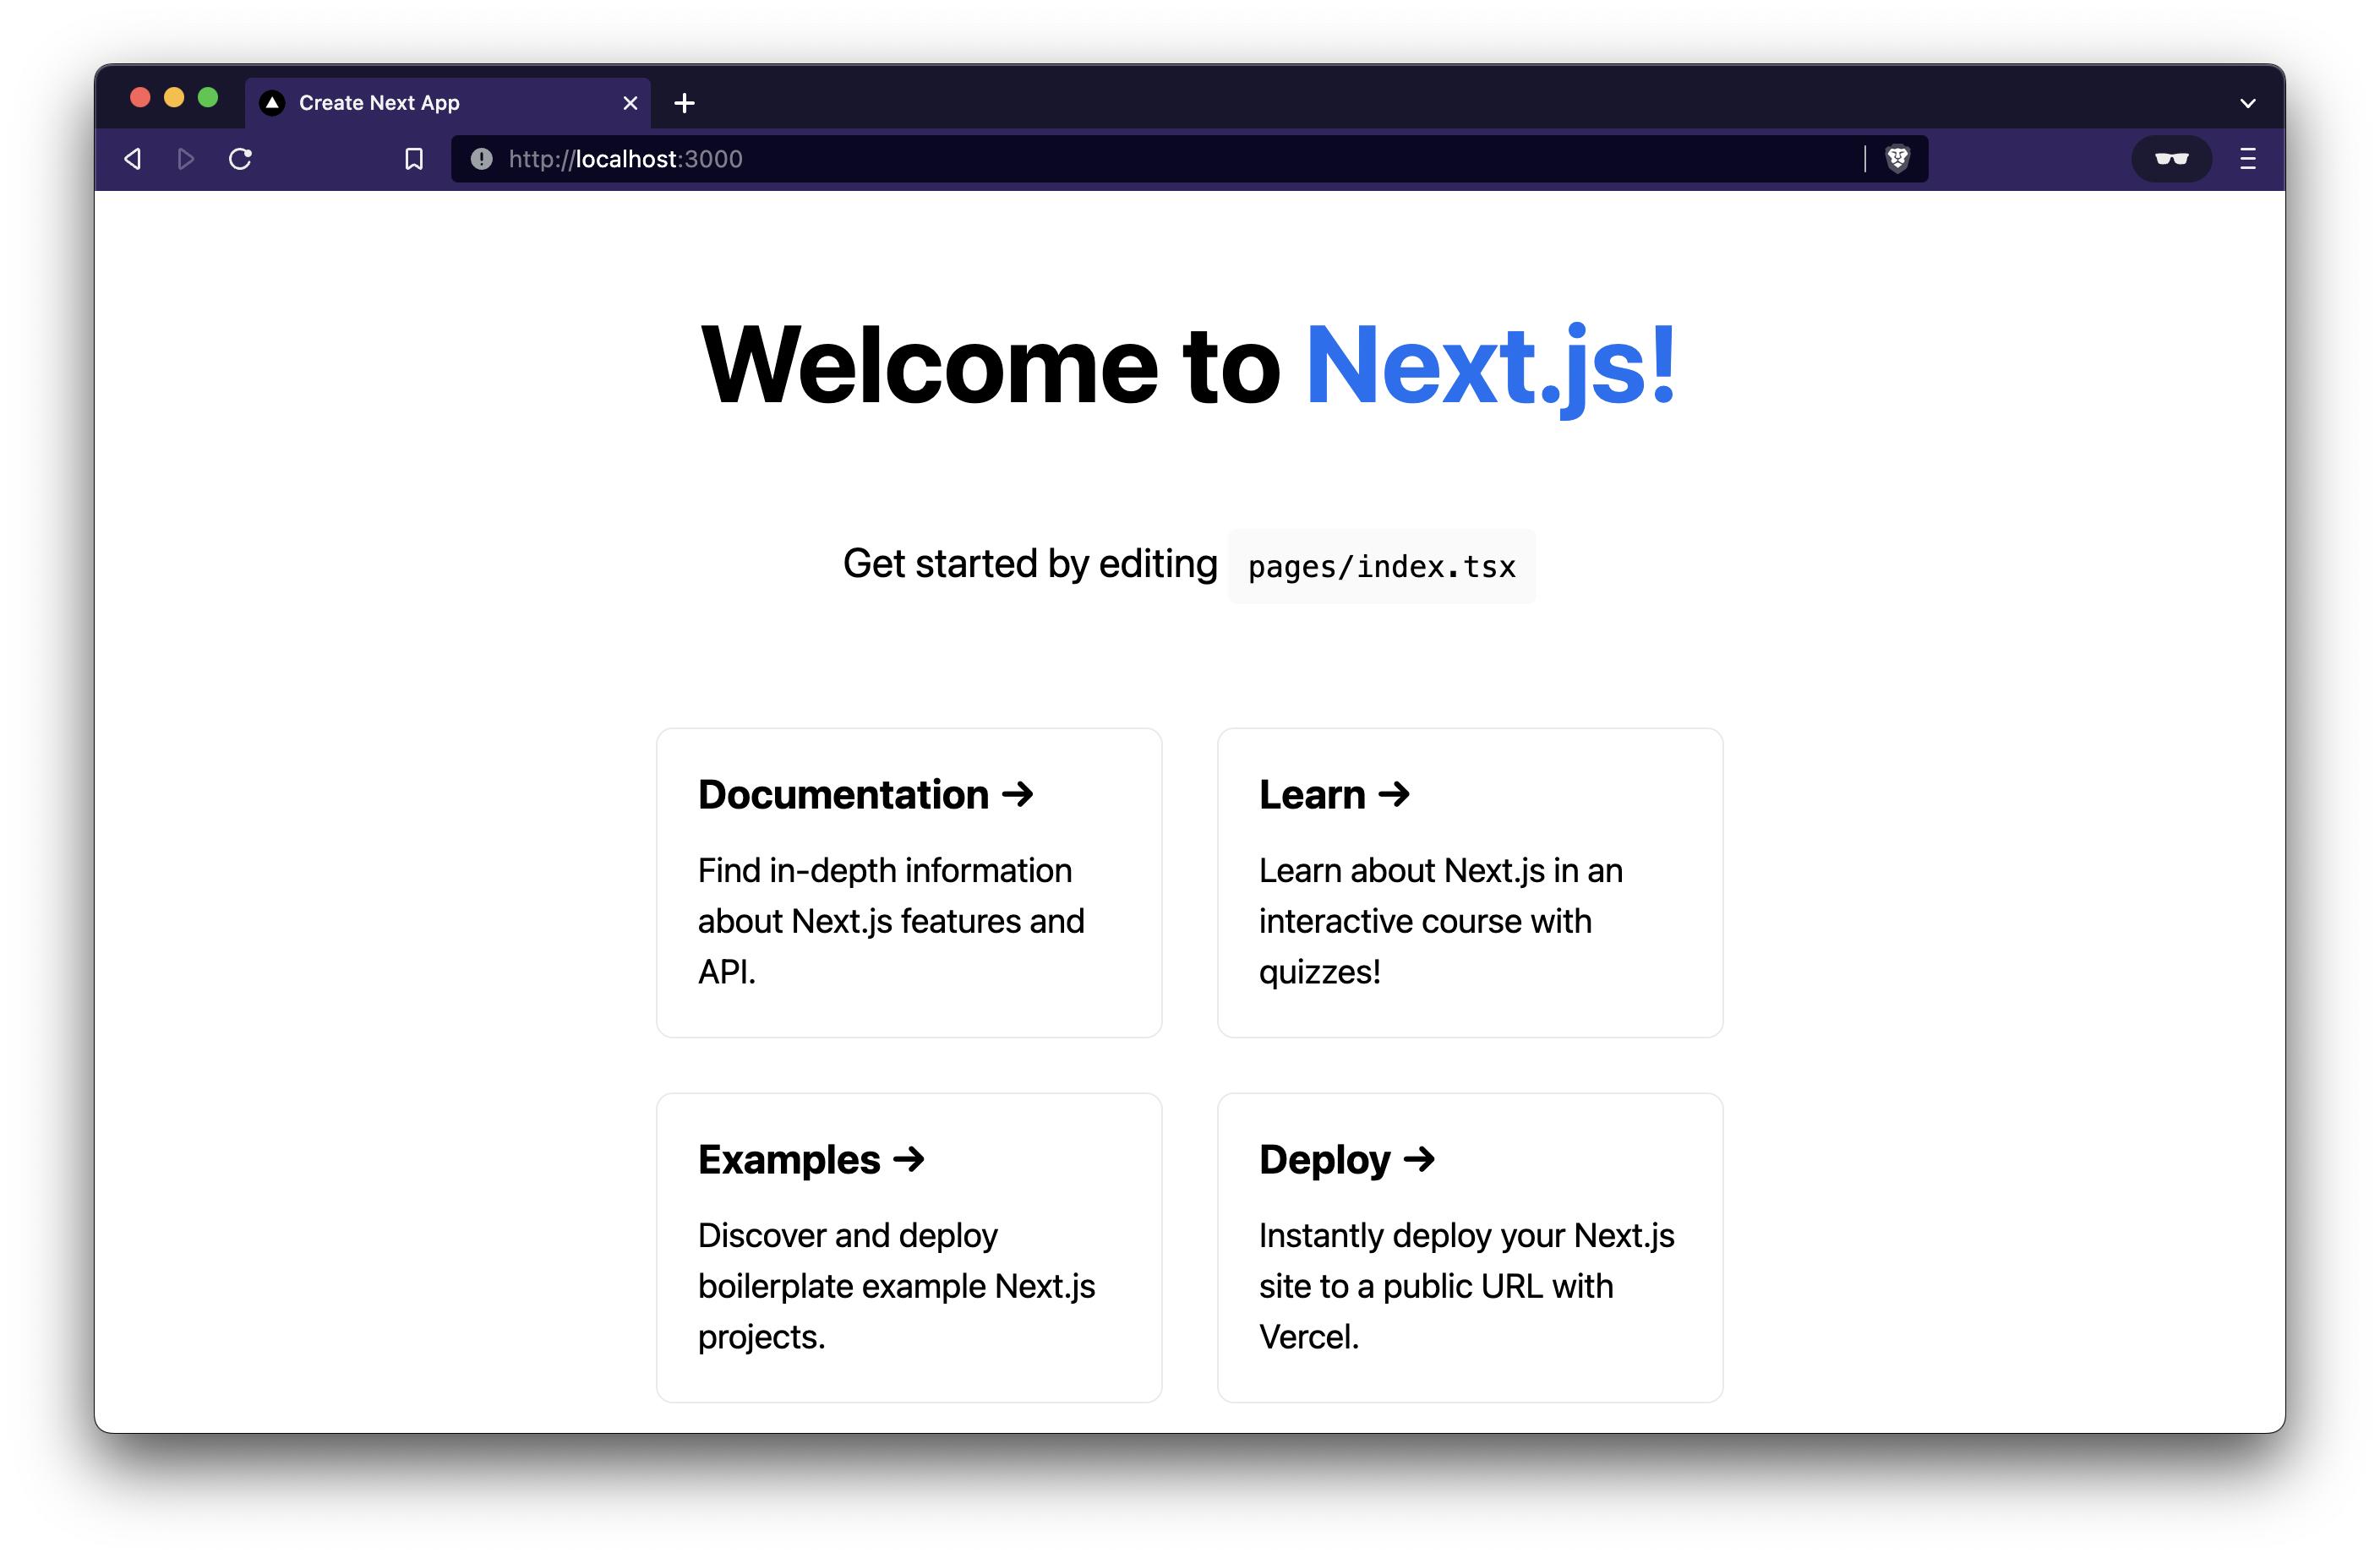
The app currently only contains the starter code provided by Next.js and we will be updating it throughout this tutorial to customize the frontend UI of our NFT wallet gallery web app.
Now let's install tailwindcss and its peer dependencies via npm by running the following command in your terminal:
npm install -D tailwindcss postcss autoprefixer
Run the init command to generate both tailwind.config.js and postcss.config.js files:
npx tailwindcss init -p
Add the paths to all of your template files in your tailwind.config.js file by updating the code with the below:
File ./tailwind.config.js
/** @type {import('tailwindcss').Config} */
module.exports = {
  content: [
    "./pages/**/*.{js,ts,jsx,tsx}",
    "./components/**/*.{js,ts,jsx,tsx}",
  ],
  theme: {
    extend: {},
  },
  plugins: [],
}
Now add the @tailwind directives for each of Tailwind's layers to your globals.css file. The top of your global.css file should look like this:
File: ./styles/globals.css
@tailwind base;
@tailwind components;
@tailwind utilities;

...
Step 2: Install & Set Up Ankr.js
For our NFT viewer to be able to communicate with the different blockchain providers and download the data from, we'll need to install and set up Ankr.js. This JavaScript library allows us to fetch data using Ankr's Advanced APIs including NFT metadata, account balance, token holders, transactions, and more from the supported EVM-compatible blockchains. The primary datapoint we will be retrieving for this tutorial will be the list of NFTs owned by any given wallet address input.
In the project root directory ankrjs-tutorial, run the following command in your terminal to install the ankr.js library:
yarn add @ankr.com/ankr.js
In the same directory, create a new file named utils.ts by running the following command in your terminal:
touch utils.ts
Now let's initialize the Ankr.js library by adding the following code in the new utils.ts file we created in the previous step:
File: ./utils.ts
import AnkrscanProvider from '@ankr.com/ankr.js';

const provider = new AnkrscanProvider(' ');
The provider instance is our interface to Ankr's Advanced APIs whenever we need to fetch data or interact with them.
Step 3: NFT Retrieval Function
In this section, we'll create the getNfts function that accepts the wallet address as the user input and returns the collection of NFTs owned by the input address. Ankr.js library provides us with the getNFTsByOwner method that we will implement and utilize inside of our getNfts function.
The NFT viewer app will accept input for Ethereum, Polygon, and Binance wallet addresses. Update the utils.ts file with these function and method implementations code provided below.
The updated utils.ts file should look something like this:
File: ./utils.ts
import AnkrscanProvider from '@ankr.com/ankr.js';

const provider = new AnkrscanProvider(' ');

export const getNfts = async (address: string) => {
  const { assets } = await provider.getNFTsByOwner({
    walletAddress: address,
    blockchain: ['eth', 'polygon', 'bsc'],
  });
  return {
    nfts: assets,
  };
};
Now, let's test it out by calling the function and logging the output onto our browser's console. We will use the useEffect Hook which tells React that our component needs to do something after it renders.
Update the code inside the index.tsx file with the following lines of code:
File: ./pages/index.tsx
import type { NextPage } from 'next';
import { useEffect } from 'react';
import { getNfts } from '../utils';

const Home: NextPage = () => {
  useEffect(() => {
    (async () => {
      const { nfts } = await getNfts(
        '0xe4bBCbFf51e61D0D95FcC5016609aC8354B177C4'
      );
      console.log({ nfts });
    })();
  }, []);

  return (
    <div className='p-10 flex flex-col items-center'>
      <h1 className='text-3xl tracking-tight font-extrabold text-gray-900 sm:text-4xl md:text-6xl mb-4"'>
          NFT Viewer
       </h1>
    </div>
  );
};

export default Home;
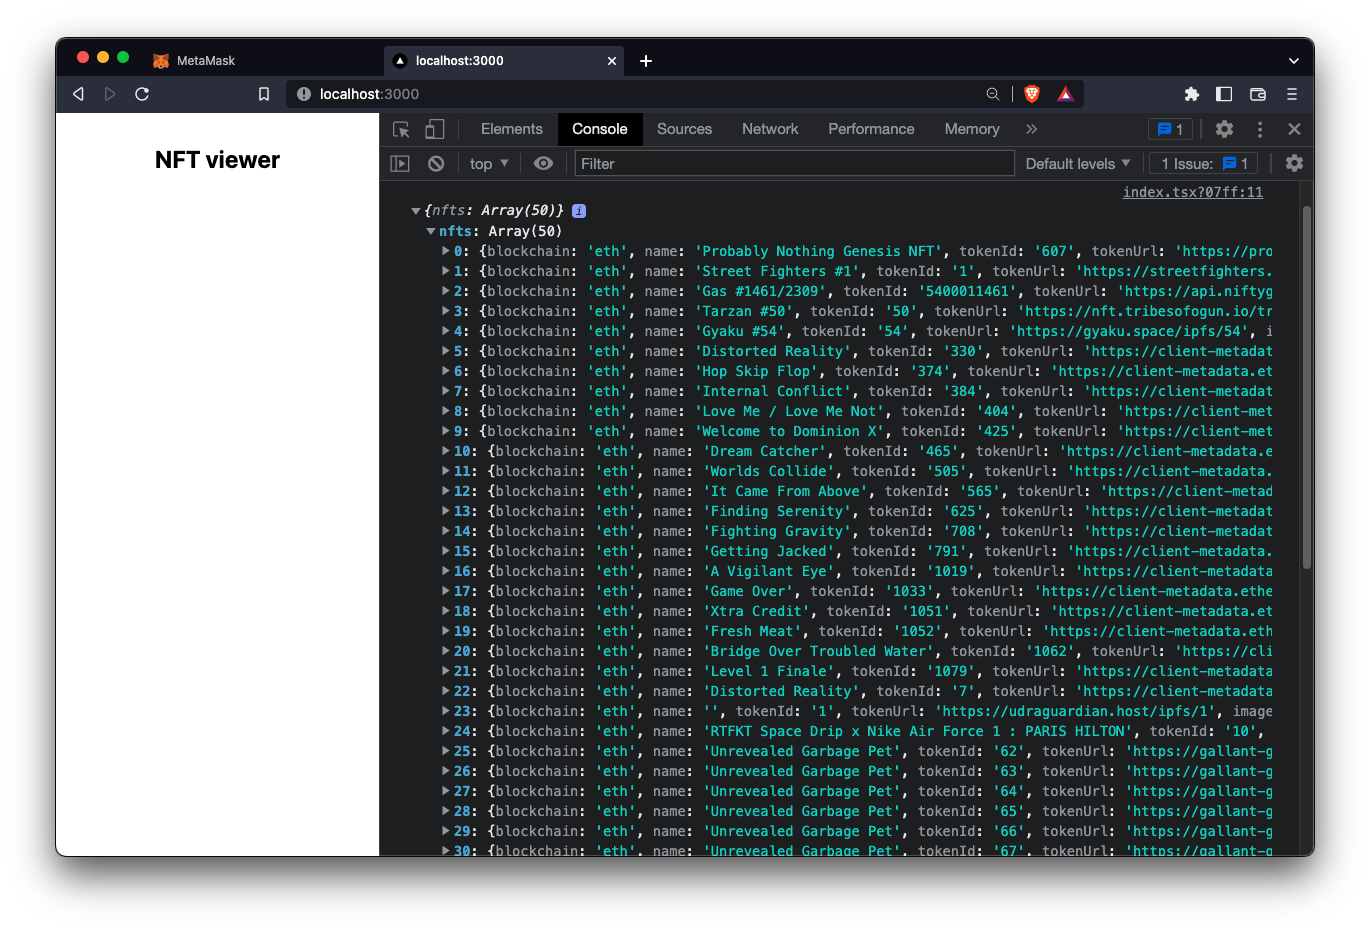
In this case, the useEffect Hook retrieves the list of NFTs owned by the wallet address. Then the collection of NFTs owned by the the address are stored in the nfts array and logged to the browser's console.
Your browser's console log should look similar to this:
Step 4: Create Wallet Address Input
In this step, we're going to add an input element to the user interface that allow users to input any wallet address and pass it to the getNfts function.
We will use the useState Hook to keep track of the wallet address in a state variable named walletAddress, hook it up to the input element in the user interface and pass it to the getNfts function.
Your updated index.tsx file should have the following lines of code and look something like this:
File: ./pages/index.tsx
/* eslint-disable @next/next/no-img-element */
import type { NextPage } from 'next';
import { useEffect, useState } from 'react';
import { useNfts } from '../hooks';
import { getNfts } from '../utils';
const Home: NextPage = () => {
const [walletAddress, setWalletAddress] = useState(
'0xe4bBCbFf51e61D0D95FcC5016609aC8354B177C4'
);
useEffect(() => {
(async () => {
const { nfts } = await getNfts(walletAddress);
console.log({ nfts });
})();
}, [walletAddress]);
return (
<div className='p-10 flex flex-col items-center'>
<h1 className='text-3xl tracking-tight font-extrabold text-gray-900 sm:text-4xl md:text-6xl mb-4"'>
NFT Viewer
</h1>
<div className='flex-left flex-col mt-4'>
<label className='text-zinc-700 text-2xl font-extrabold' htmlFor='wallet-address'>
Wallet address:
</label>
<input
id='wallet-address'
type='text'
value={walletAddress}
onChange={(e) => setWalletAddress(e.target.value)}
className='rounded p-3 w-[425px] border'
placeholder='Enter a wallet address here to view NFTs'
/>
</div>
</div>
);
};
export default Home;
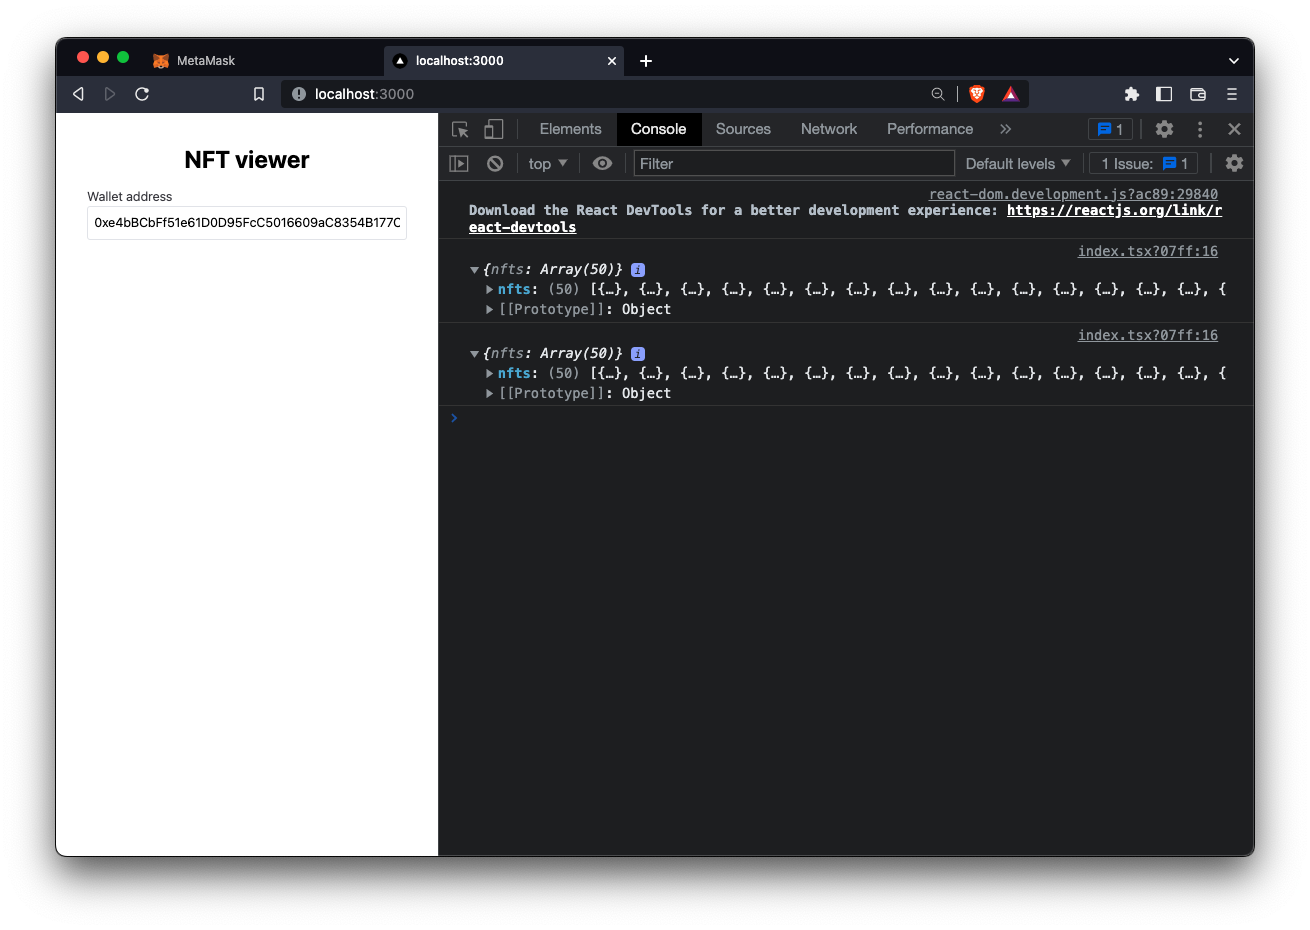
A different list of nfts are logged out into the browser console anytime the wallet address changes in the input now. Finally, we are able to fetch the list of NFTs held by any given input address.
The console log should look something like this:
Step 5: Display NFT Gallery
We're almost done with our NFT viewer. In this step, we will store the list of NFTs we fetched into a state variable named nfts, log it to the console, then loop through the nfts array, and return a gallery grid view to the user interface.
The most updated index.tsx file should look something like this:
File: ./pages/index.tsx
/* eslint-disable @next/next/no-img-element */
import type { NextPage } from 'next';
import { useEffect, useState } from 'react';
import { useNfts } from '../hooks';
import { getNfts } from '../utils';

const Home: NextPage = () => {
  const [walletAddress, setWalletAddress] = useState(
    '0xe4bBCbFf51e61D0D95FcC5016609aC8354B177C4'
  );

  const { nfts, loading, error } = useNfts(walletAddress);

  useEffect(() => {
    (async () => {
      const { nfts } = await getNfts(walletAddress);
      console.log({ nfts });
    })();
  }, [walletAddress]);

  return (
    <div className='p-10 flex flex-col items-center'>
      ...
      <div className='grid grid-cols-4 mt-8 gap-4'>
        {nfts.map((nft) => {
          return (
            <div
              key={`${nft.contractAddress}/${nft.tokenId}`}
              className='flex flex-col rounded border p-4'
            >
              <img
                className='w-[200px] h-[200px] rounded shadow'
                src={nft.imageUrl}
                alt={nft.name}
              />
              <span className='font-bold mt-8'>{nft.name}</span>
              <span>{nft.collectionName}</span>
            </div>
          );
        })}

        {error && (
          <div className='flex flex-col items-center mt-8'>
            <p className='text-red-700'>
              Error: {JSON.stringify(error, null, 2)}
            </p>
          </div>
        )}
      </div>

      <footer className='flex flex-col gap-2 mt-16 items-center'>
        <Link href='https://github.com/theekrystallee/ankrjs-tutorial'>
          <a className='text-zinc-700 underline'>Source code</a>
        </Link>
      </footer>
    </div>
  );
};

export default Home;
Step 6: Deploy NFT Viewer
Now let's deploy our Next.js app with Vercel by following the steps below:
- Go to Vercel and sign in with your GitHub account.
- Click the
New Projectbutton and select your project repo. - Select the Framework as
Next.js. - Click
Deployand now your NFT viewer is live!
Congrats on successfully completing this tutorial! You should now see a gallery grid view of all the NFTs owned by the input wallet address returned to the user interface.
Additional Resources
Where to Find Me
Feel free to reach out to me with any questions on Twitter @theekrystallee or show me what you learned on TikTok @theekrystallee.
Happy building 🧱


